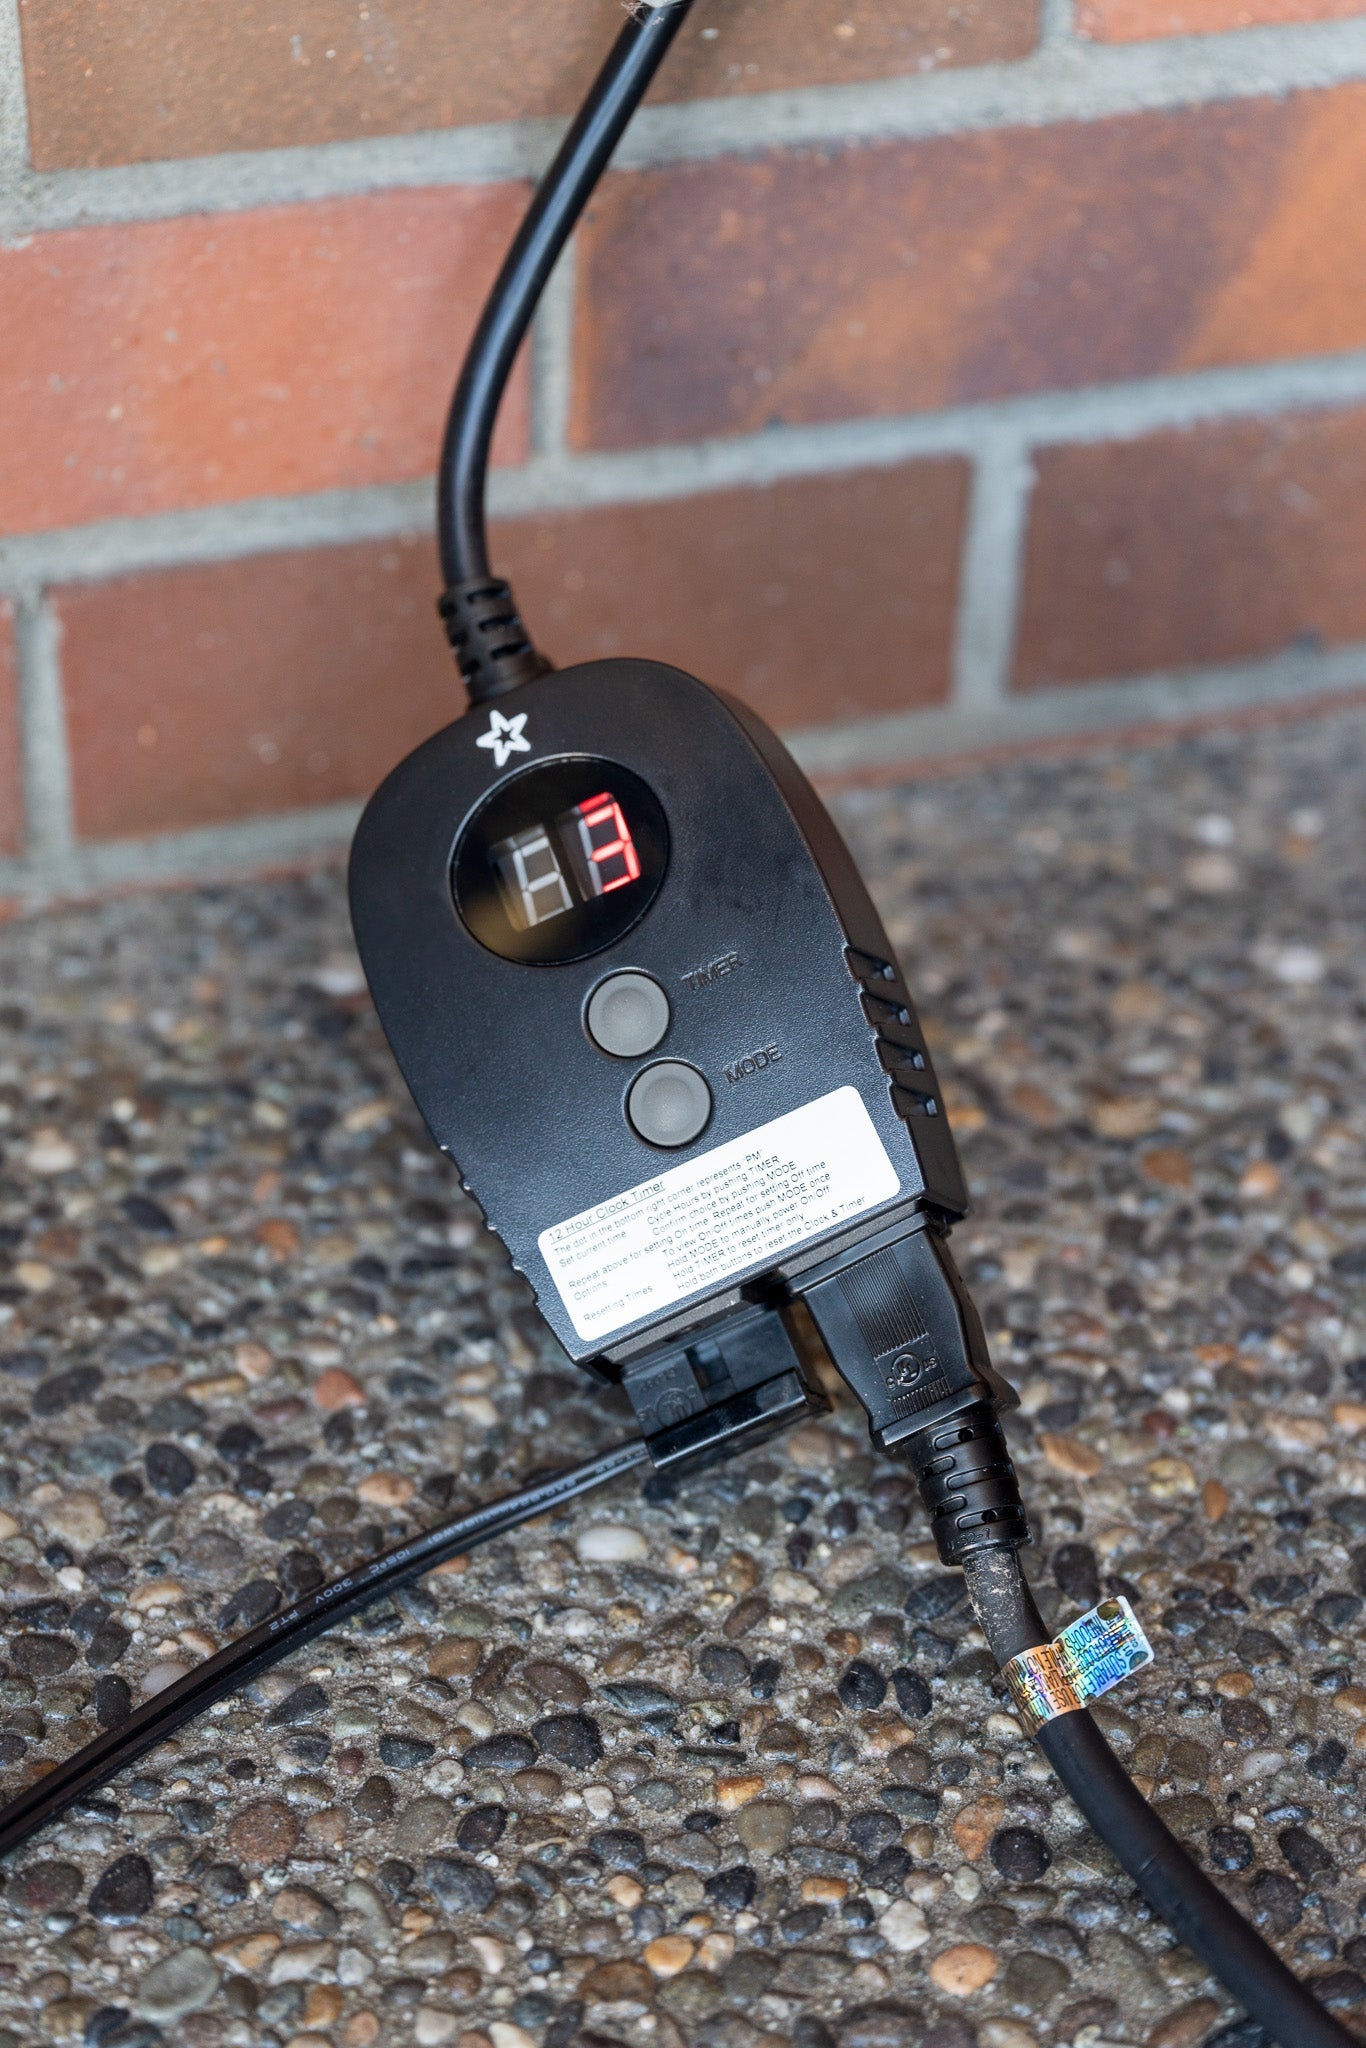
Are you tired of manually turning your Christmas lights on and off every day? Say hello to convenience with the Big Star Lights Timer! This timer offers automatic control for your lights, ensuring they illuminate your space precisely when you want them to, without any hassle.
Effortless Programming
Setting up the Big Star Lights Timer is a breeze. With just a few easy steps, you can program it to turn your Christmas lights on and off according to your schedule. Let's walk through the process:
-
Reset and Start Programming: Hold down the two buttons on the front of the timer to reset it and begin programming.
-
Set Current Time: The screen will flash, indicating that you can start setting the current time. Use the top button to cycle through the options until you reach the correct time. For example, if it's 2 PM, select '2' and confirm by pressing the bottom button.
-
Set On Time: Next, determine the time you want your lights to come on. Use the top button to select the desired time, such as 6 PM, and confirm your selection.
-
Set Off Time: Similarly, choose the time when you want the lights to turn off. Ensure to adjust the AM/PM indicator as needed. For instance, if you want the lights to turn off at 2 AM, select '2' and confirm.
-
Final Confirmation: After setting all the times, the timer will display your selections. Check the screen to ensure the accuracy of your settings. The 'P' indicates the power will turn on at the specified time, while the 'E' signifies the end time when the lights will turn off.
-
Enjoy Automated Control: Once you've confirmed everything, relax and let the Big Star Lights Timer take care of the rest. Your lights will now turn on and off according to the schedule you've programmed, providing effortless illumination for your space.

